Not only is this true for this situation, but I have quoted it because its a line from a play I was in when I was very young. As soon as I break a nail, this line comes to mind and it makes me giggle.
Breaking a nail is not really funny so I am going to show an easy way to repair it without spending much money or time, and maybe you'll even giggle along with me.
You'll need:
Scissors
Toothpick or two
Super Glue/Nail Glue
Empty, dry Tea bag
Base Coat
Top Coat
Medium/Coarse file
Fine/Extra Fine file
Protect the surface of your work area
(acetone just in case)
My grandmother was a cosmetology instructor and she taught me this little trick at a very young age, and it totally works! I had the nail repair below applied for three weeks and two polish changes and it held up really very well. I just trimmed and filed the nail as it grew out.
1. Cut a small piece of drt tea bag to cover the break allowing extra on either side of the split, but not touching the skin. The fibrous paper will act as a bandage.
You can use other materials but if they are thin or not as durable, two layers of the 'bandage' is recommended.
2. Apply a drop of super glue near the split and spread it around with a toothpick. Place the 'bandage' on top of the split and pat down with toothpick to saturate. Place a drop or two more of superglue on top of the bandage. Spread it around with the toothpick gently so that the bandage piece becomes saturated.
If the nail tends to pop up or is misaligned, use the toothpick to hold the nail in place until dry. Do not use your own finger as it may adhere!
3. After the superglue/bandage has dried, apply base coat and top coat in several layers to thicken the nail up a bit. Be generous in this phase because next is filing.
I use Gelous and Seche Vite and can recommend those as they have worked well for me. If you're used to working with gel or acryllic, you can use those too.
4. Once everything is good and dry, check for bumps and lumps. Use your own judgement to determine whether a coarse or medium file needs to be used. Smooth away those bumps and then use the fine file or buffing file to smooth it all out.
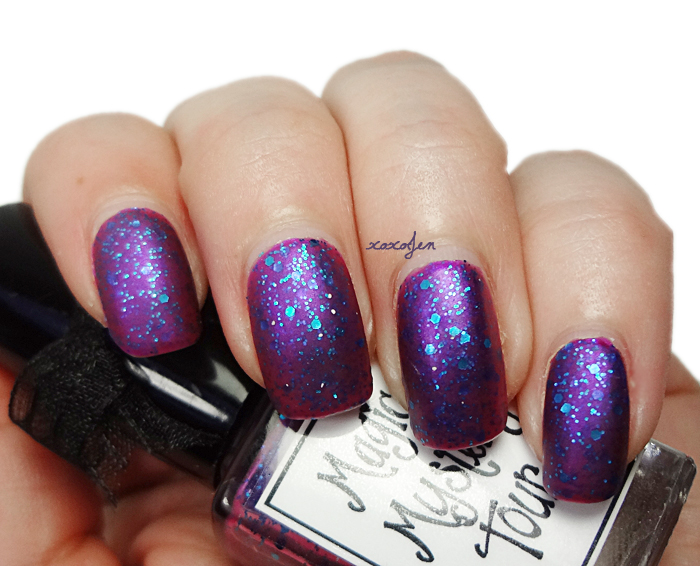
5. Apply polish and viola!
6. When doing a polish change, you may need to repeat steps three through five.


The repair will hold up really well through normal use. It doesn't hurt to baby it a little but you can do normal things with it too. When I have repairs like this, I can still type all day, wash my hair, scratch an itch and it holds up just like a natural nail does.
tried my repair method and had a good result. She said I could share her photos, so here are those!